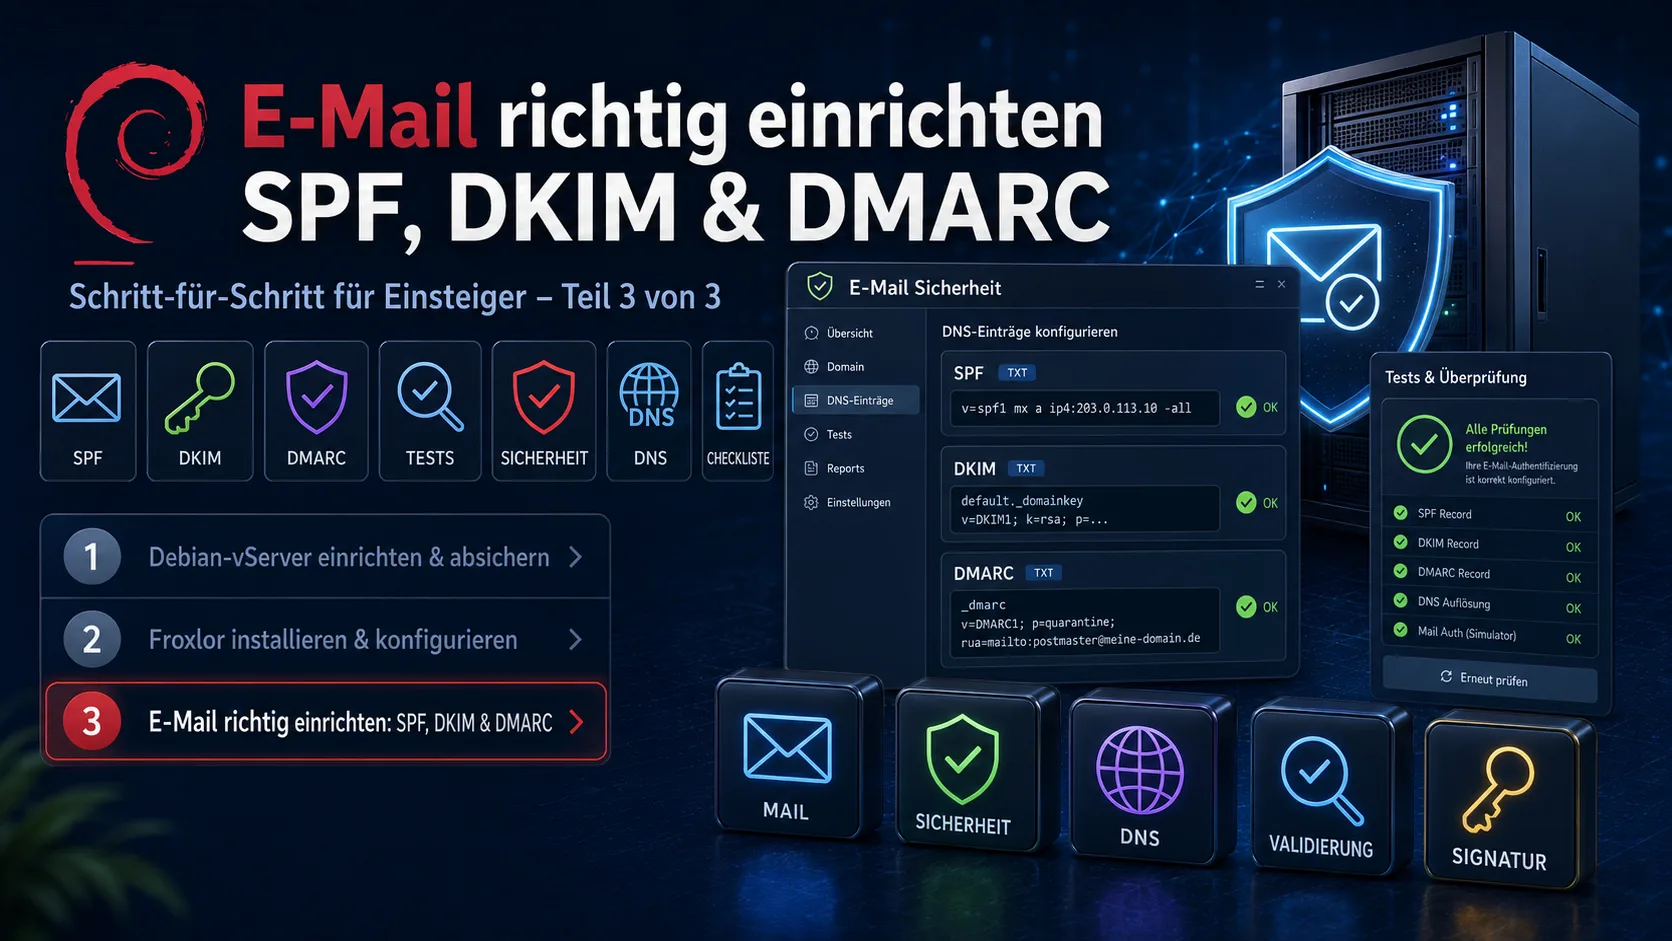
Set up email correctly: SPF, DKIM and DMARC for beginners (Part 3 of 3)
Series „Your own server – from zero to secure" · 3 parts:
- Set up & secure a Debian vServer
- Install & configure Froxlor
- Set up email correctly: SPF, DKIM & DMARC ← You are here
This is Part 3 and concludes the series. It assumes a server with a mail server as built in Part 1 and Part 2.
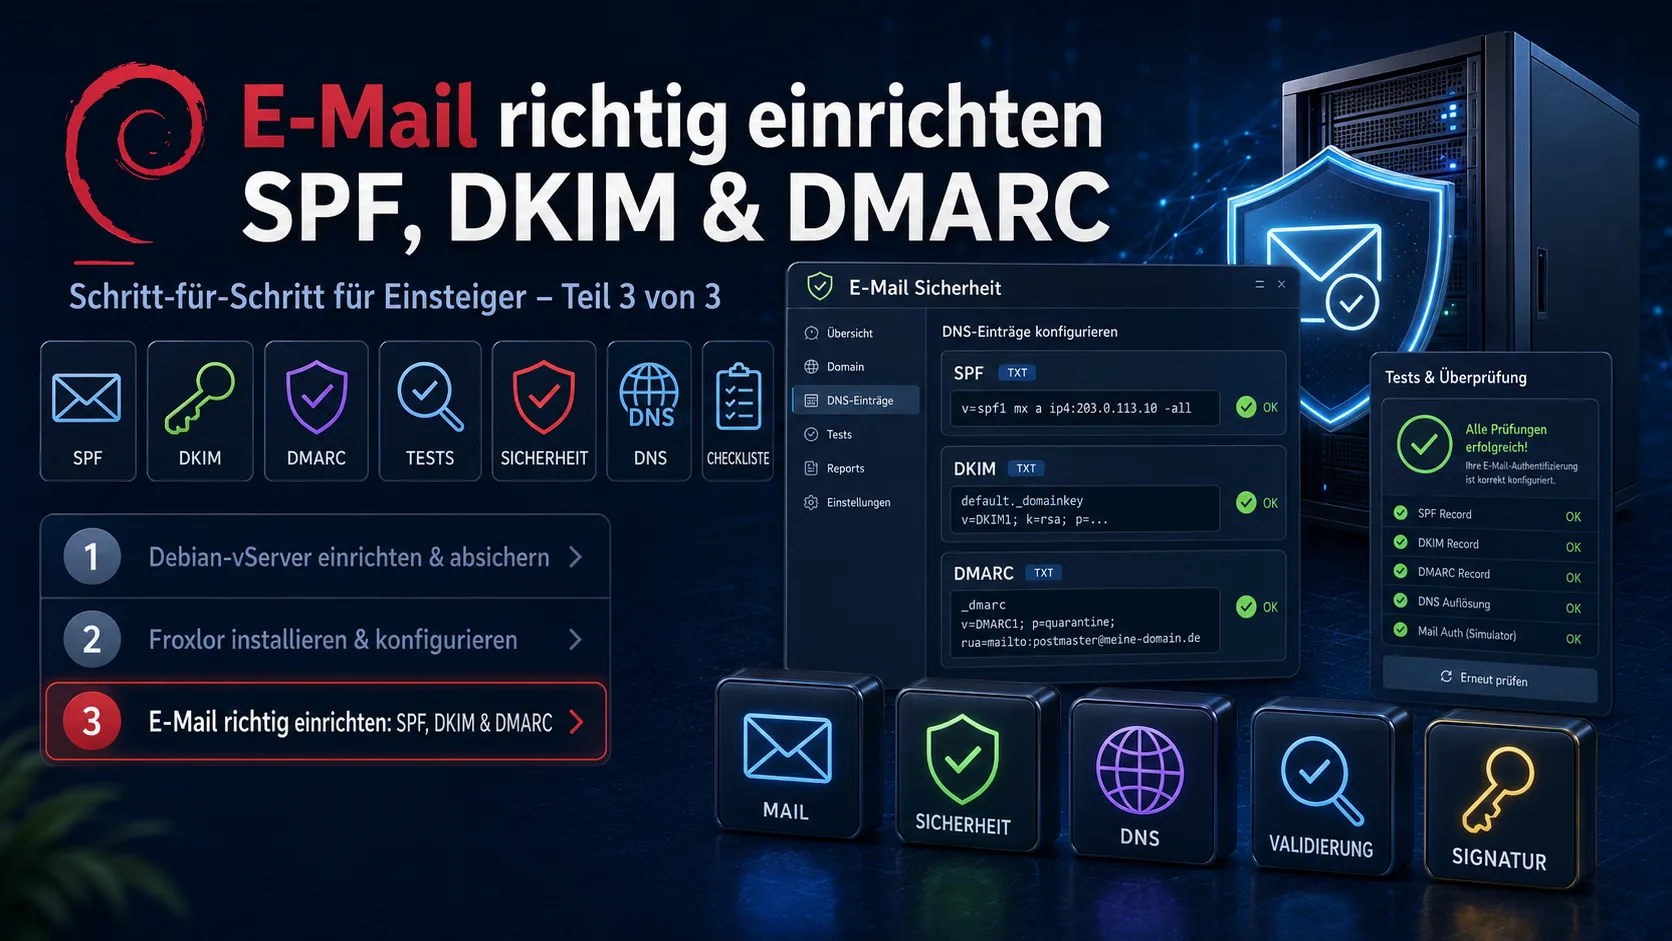
Contents
- Prerequisites
- What are SPF, DKIM and DMARC?
- Step 1: Set up SPF
- Step 2: Set up DKIM (sign on your own server)
- Step 3: Set up DMARC
- Step 4: Check and test everything
- Common errors and solutions
- Checklist
- Frequently asked questions (FAQ)
- Conclusion
- Sources
At a glance: SPF, DKIM and DMARC are three entries in your domain's DNS. They prove that an email really comes from you. Without them, your messages today often land in spam – or are rejected entirely. Since 2024 Google and Yahoo require this authentication, Microsoft since 2025. The setup takes 20–30 minutes.
If you send emails via your own server (e.g. invoices or contact-form messages), it's not enough to „just" run a mail server. You also have to prove to the receiving servers that the mail is genuine. There are three building blocks for that. We set up all three – beginner-friendly and ready to copy.
Prerequisites
- A server with a mail server (Postfix/Dovecot), e.g. set up via Froxlor from Part 2.
- Access to your domain's DNS management – the area at the domain provider (or in Froxlor, if you manage DNS there) where you can create „TXT records".
- The IP address of your server.
Important – correct order: Set up SPF and DKIM first and wait until both are active (at least a few hours) before you switch DMARC to enforcing. And always start DMARC with the gentle setting
p=none.
What are SPF, DKIM and DMARC?
Three simple images:
- SPF is the guest list. It defines which servers may send emails in your name. If the sending server isn't on the list, the mail is suspicious.
- DKIM is the digital signature. Every outgoing mail is cryptographically signed. The recipient checks whether it's genuine and wasn't altered in transit.
- DMARC is the rulebook. It tells the recipient what should happen if SPF or DKIM fail: let through, move to spam or reject. And it sends you reports.
All three are technically just TXT records in DNS – except the DKIM key, which we generate on the server. A very good, detailed explanation is offered by the guide from Mailvergleich.de.
Step 1: Set up SPF
SPF is a single TXT record that you create in your domain's DNS. Go to the DNS management and create a new record:
Type:   TXT
Name:   @            (stands for the main domain)
Value:  v=spf1 a mx ip4:SERVER-IP -all
Replace SERVER-IP with your server's IP. What the parts mean:
v=spf1– version identifier (always at the start).a mx– servers the domain's A and MX records point to may send.ip4:SERVER-IP– this specific IP may send.-all– all others may not send (strict variant). If you're unsure or use additional services (newsletter, CRM), start with the softer variant~alland switch to-alllater.
Only one SPF record! A domain may have exactly one SPF TXT record. If you use further services, add their
include:entries into this one record, e.g.v=spf1 a mx include:_spf.example.com -all.
Step 2: Set up DKIM (sign on your own server)
Unlike with a rented mailbox, you must generate DKIM on your own server yourself. We use OpenDKIM for this, which hooks into Postfix and signs every outgoing mail.
2.1 Install OpenDKIM:
sudo apt install -y opendkim opendkim-tools2.2 Generate the key (replace your-domain.com):
sudo mkdir -p /etc/opendkim/keys/your-domain.com
sudo opendkim-genkey -b 2048 -d your-domain.com -D /etc/opendkim/keys/your-domain.com -s mail -v
sudo chown -R opendkim:opendkim /etc/opendkim
2.3 Configure OpenDKIM. Open the main configuration:
sudo nano /etc/opendkim.confAdd at the end:
Canonicalization   relaxed/simple
Mode               sv
Socket             inet:8891@localhost
KeyTable           /etc/opendkim/KeyTable
SigningTable       /etc/opendkim/SigningTable
ExternalIgnoreList /etc/opendkim/TrustedHosts
InternalHosts      /etc/opendkim/TrustedHosts
Create the three tables:
echo "mail._domainkey.your-domain.com your-domain.com:mail:/etc/opendkim/keys/your-domain.com/mail.private" | sudo tee /etc/opendkim/KeyTable
echo "*@your-domain.com mail._domainkey.your-domain.com" | sudo tee /etc/opendkim/SigningTable
printf "127.0.0.1\nlocalhost\nyour-domain.com\n" | sudo tee /etc/opendkim/TrustedHosts
2.4 Connect OpenDKIM with Postfix. Open the Postfix configuration:
sudo nano /etc/postfix/main.cfAdd at the end:
milter_default_action = accept
milter_protocol = 6
smtpd_milters = inet:localhost:8891
non_smtpd_milters = inet:localhost:8891
Restart the services:
sudo systemctl restart opendkim postfix2.5 Publish the DKIM DNS record. OpenDKIM has written your public key into a file. Display it:
sudo cat /etc/opendkim/keys/your-domain.com/mail.txtYou'll see a long value in the form v=DKIM1; k=rsa; p=.... Use it to create a TXT record in DNS:
Type:   TXT
Name:   mail._domainkey
Value:  v=DKIM1; k=rsa; p=MIIBI...   (the complete p= value from the file)
An illustrated step-by-step help for DKIM is also at saschafix.de.
Step 3: Set up DMARC
DMARC connects SPF and DKIM and sets the rule. Create another TXT record in DNS:
Type:   TXT
Name:   _dmarc
Value:  v=DMARC1; p=none; rua=mailto:dmarc@your-domain.com; fo=1
Meaning:
p=none– observe, but block nothing. This is always how you start, to see whether everything runs cleanly without endangering legitimate mail.rua=mailto:dmarc@your-domain.com– recipients send daily reports to this address. Create this mailbox.fo=1– more detailed failure reports.
Tighten step by step: When after one to two weeks the reports show that your real mails pass SPF/DKIM, increase the strictness – first to p=quarantine (suspicious mails to spam), later to p=reject (reject suspicious mails):
v=DMARC1; p=quarantine; rua=mailto:dmarc@your-domain.com; fo=1Never start with
p=reject! Otherwise you risk legitimate mails (e.g. from newsletter or CRM services) being rejected too.
Step 4: Check and test everything
DNS changes take some time (often minutes, sometimes up to 24 hours). Then check your setup with free tools:
- MXToolbox – checks SPF, DKIM and DMARC records individually (choose „SPF Record Lookup", „DKIM Lookup", „DMARC Lookup" at the top).
- mail-tester.com – send a real test mail to the displayed address; the goal is a score of at least 8/10.
- Check the Gmail header: Send yourself a mail to a Gmail account, open it, click the three dots → „Show original". There SPF, DKIM and DMARC should each show „PASS".
You can additionally test DKIM directly on the server:
sudo opendkim-testkey -d your-domain.com -s mail -vvvIf „key OK" appears, the key is correctly published.
Common errors and solutions
| Problem | Cause | Solution |
|---|---|---|
| Mails still land in spam | DNS not propagated yet | wait a few hours, check with MXToolbox |
| SPF „PermError" | more than one SPF record | merge all entries into one SPF record |
| DKIM „fail" | wrong/incomplete p= value | copy the complete value from mail.txt exactly (without line breaks) |
| DMARC has no effect | typo in the name | the record must be exactly _dmarc |
| No DMARC reports | rua mailbox doesn't exist | create the address dmarc@your-domain.com |
Checklist
- [ ] SPF TXT record present (exactly one), ends with
-allor~all - [ ] OpenDKIM installed, connected with Postfix, services restarted
- [ ] DKIM TXT record (
mail._domainkey) published,opendkim-testkeyreports „key OK" - [ ] DMARC TXT record (
_dmarc) withp=noneactive - [ ] mail-tester.com shows ≥ 8/10
- [ ] Gmail „Show original": SPF, DKIM, DMARC = PASS
- [ ] After one to two weeks, DMARC raised to
quarantine/reject
Frequently asked questions (FAQ)
Isn't SPF alone enough? No. Google, Yahoo and Microsoft require at least SPF or DKIM, but for best protection and deliverability you should set up all three.
What's the difference between ~all and -all? ~all („soft fail") only marks unlisted senders as suspicious, -all („hard fail") strictly rejects them. When in doubt, start with ~all and switch to -all later.
Are DMARC reports privacy-relevant? The aggregated reports (rua) contain no mail content, but statistics on IP addresses and authentication results. Forensic reports (ruf) can contain more – many therefore skip ruf for GDPR reasons.
Do I have to maintain this regularly? Once set up, it runs. Look into the DMARC reports at the beginning and increase the strictness gradually.
Conclusion
In three steps you've made your emails secure: SPF defines who may send, DKIM signs every message, DMARC sets the rule and delivers reports. The order matters – first SPF and DKIM, then DMARC, and always start DMARC with p=none. After the test at mail-tester.com you know your mails arrive.
With that the series is complete: in Part 1 you set up a secure server, in Part 2 you installed Froxlor, and here you secured email sending.
You'd rather not run this yourself but want a ready-made solution or custom development? PepperTools supports you – just get in touch via the contact form.
Sources
- Mailvergleich.de: Set up SPF, DKIM & DMARC
- saschafix.de: Set up SPF, DKIM & DMARC
- Google Workspace: email authentication
- MXToolbox (check tools) · mail-tester.com
- OpenDKIM (project page) If you run the technical groundwork yourself, you will find guides on invoicing and bookkeeping at office1.cloud.
As of June 2026. Commands and the requirements of the major mail providers can change – their official notices and the documentation of the software used are authoritative.
Handle invoices more easily
Easy Invoice combines quotes, invoices and customer management in the cloud.
Try Easy InvoiceRead next
 Tech & Servers
Is WordPress still up to date in 2026? And do you even have to use it?
You have heard that you have to use WordPress? You do not. This guide explains without jargon what is behind the constant security warnings, what maintenance really costs and who is better off with something simpler.
 Tech & Servers
Install and configure Froxlor: a beginner's step-by-step guide (Part 2 of 3)
Part 2 of the series „Your own server – from zero to secure": install Froxlor as a free server panel on Debian 12 – from the LAMP stack via the repository install and the web installer to applying the configurations and HTTPS via Let's Encrypt. Incl. subchapters on common problems (cron, Let's Encrypt) with copy-paste commands.
 Tech & Servers
Set up and secure a Debian vServer: a beginner's step-by-step guide (Part 1 of 3)
Part 1 of the series „Your own server – from zero to secure": you've rented a vServer – now what? This beginner guide brings your Debian 12 server to a secure baseline: update the system, create a sudo user, secure SSH with a key, set up a firewall, Fail2ban and automatic security updates. Every step ready to copy.