
Install Shopware 6 Yourself: The Complete Step-by-Step Guide (Series: Servers & Shops)
You want to run a Shopware 6 shop and are wondering whether to install it yourself on your own server? This guide takes you from choosing the server to a fully set-up admin area.
It is part of our series „Servers & Shops". The general server setup (ordering a server, connecting via SSH, users & basic hardening) is covered in a separate article, which we only reference briefly here — so this article stays on topic: the Shopware installation. Planned follow-up articles are listed at the end.

Contents
- Rent or self-host? The three models
- Requirements A: server & OS
- Requirements B: software stack
- Which installation method?
- Method 1: Composer (recommended)
- Method 2: web installer
- Method 3: Docker
- Create & link Shopware account
- First login & First Run Wizard
- Set up background processes
- Domain & SSL
- Common errors and fixes
- Backups, updates, performance
- FAQ
- Plugins & individual extensions
- Common pitfalls
- Go-live checklist
Rent or self-host? The three models compared
Before you start, you should know which three fundamentally different paths exist — and who manages what:
| Model | Who manages the server? | Who manages Shopware? | For whom | Cost (rough) |
|---|---|---|---|---|
| 1. Shopware Cloud (SaaS) | Shopware | Shopware | larger companies | from ~€600/month |
| 2. Managed Shopware hosting | the host | you | small–medium shops, little technical effort | ~€20–80/month |
| 3. Your own server (unmanaged) | you | you | technical, maximum control & lowest cost | from ~€5/month (vServer) + your own work |
In short:
- Shopware Cloud is the all-inclusive rental: Shopware takes care of everything, you just build your shop. Convenient but expensive — and only economical for larger merchants from several million euros in revenue. For small shops usually oversized.
- Managed Shopware hosting is the popular middle ground: you use the free Community Edition, the host provides a ready-made, maintained server (operating-system updates, security, backups). You don't have to deal with Linux.
- Your own, unmanaged server means: you rent „just" a vServer or dedicated server and set everything up yourself. Maximum control, lowest running costs, but you bear responsibility for maintenance and security. This is exactly what this guide is about.
Realistic rental offers (Model 2: managed/shop hosting)
If you don't want to administer the server yourself, these are common providers with a direct link to each offer — prices checked in June 2026 (entry tariff):
| Provider | Plan | Price (as of 06/2026) | Direct to the offer |
|---|---|---|---|
| dogado | Shopware M 2.0 | €29.99/month (incl. VAT) | to the plan |
| mittwald | vServer (for Shopware, B2B) | from €21/month plus VAT | to the plan |
| Timme Hosting | Shop hosting | €29/month plus VAT | to the plan |
| webgo | Shop hosting „Profi" (vServer with Froxlor) | €75.95/month | to the plan |
For larger shops with high traffic, maxcluster offers powerful managed hosting — price individually via the configurator; Timme Hosting has managed vServers from about €66/month for this. Note: some prices are net (plus VAT). Tariffs change frequently — the direct link always leads to the current offer.
Note: the Shopware Community Edition is free. From March 2026 it has a cap of €1 million GMV per year — more than enough for almost all self-hosting projects. That is exactly what we install below.
Requirements Part A: server & operating system
For productive operation you need a server with root access (SSH) — i.e. a vServer (VPS) or a dedicated server. Classic shared web hosting is usually not enough for self-installation, because it lacks the console, your own PHP settings and services like Redis.
- vServer/VPS: the right choice for most small and medium shops. Good price-performance ratio.
- Dedicated server: your own hardware, sensible only with high traffic or very large assortments.
Suitable vServers for self-installation are available e.g. from IONOS, Hetzner or webtropia — from just a few euros a month.
Operating system — often overlooked, but decisive: Shopware runs on Linux. When ordering, choose a common, long-term maintained distribution:
- Ubuntu Server LTS (24.04 or 22.04) — the most widespread, huge community, ideal for beginners.
- Debian (12) — very stable, lean.
Windows servers are unusual for Shopware and are not covered here. So order directly with Ubuntu LTS or Debian.
Concrete hardware guidelines:
| Entry (small shop) | Growth (medium–large) | |
|---|---|---|
| CPU | 2 vCPU | 4+ vCPU |
| RAM | 4 GB (minimum) | 8–16 GB |
| Storage | SSD (mandatory) | NVMe SSD |
| Operating system | Ubuntu LTS / Debian | Ubuntu LTS / Debian |
Rule of thumb: RAM is the most common bottleneck with Shopware — especially during theme compilation and indexing. Plan for 8 GB if you also want to use Elasticsearch. A classic HDD is too slow, SSD is mandatory.
Note: How to order a server, connect via SSH, create a sudo user and set up basic hardening (firewall, updates) is shown in detail in the series article „Server setup" (coming soon). Here we assume you can log in to your server via SSH:
ssh user@server-ip.
Requirements Part B: software stack
In the end, these components must be available in the right versions:
| Component | Version | Note |
|---|---|---|
| PHP | 8.2, 8.3 or 8.4 | 8.3 recommended; 8.4 from Shopware 6.7 |
| MySQL or MariaDB | MySQL 8.0 / MariaDB 10.11 | avoid MySQL 8.0.20 and 8.0.21 (known issues) |
| Web server | Apache (or Nginx) | document root must point to the public/ folder |
| Composer | 2.2 or newer | for the recommended installation method |
| Node.js | 20 (LTS) | for the asset build (mandatory) |
| Redis | 7.0+ | optional, recommended for performance |
Required PHP extensions: ctype, curl, dom, fileinfo, gd, iconv, intl, json, libxml, mbstring, openssl, pcre, pdo, pdo_mysql, phar, simplexml, xml, zip, zlib
Install the stack (Ubuntu/Debian)
These commands install only the software packages. The project location, database, vHost and file permissions are set up in the following steps (or conveniently via a panel like Froxlor).
Install the web server, PHP and database with:
sudo apt update
sudo apt install -y apache2 mariadb-server \
  php php-cli php-mysql php-curl php-gd php-intl php-mbstring \
  php-xml php-zip php-bcmath php-fileinfo \
  unzip git
Then check the PHP version (php -v, should be 8.2–8.4) and the extensions (php -m).
Adjust PHP: set sensible values in the php.ini (under Apache usually /etc/php/8.3/apache2/php.ini) and restart Apache:
memory_limit = 512M        ; 1024M for theme compilation
upload_max_filesize = 32M
post_max_size = 32M
sudo systemctl restart apache2Composer (version 2.2+) from getcomposer.org:
php -r "copy('https://getcomposer.org/installer', 'composer-setup.php');"
php composer-setup.php
sudo mv composer.phar /usr/local/bin/composer
composer -V
Node.js 20 via the NodeSource repository:
curl -fsSL https://deb.nodesource.com/setup_20.x | sudo -E bash -
sudo apt install -y nodejs
node -v
Create the database
Secure the database and create a database with a user:
sudo mysql_secure_installation
sudo mysql -e "CREATE DATABASE shopware CHARACTER SET utf8mb4 COLLATE utf8mb4_unicode_ci;
CREATE USER 'shopware'@'localhost' IDENTIFIED BY 'STRONG_PASSWORD';
GRANT ALL PRIVILEGES ON shopware.* TO 'shopware'@'localhost';
FLUSH PRIVILEGES;"
Prepare Apache & document root
Shopware uses „pretty URLs", which requires mod_rewrite to be active:
sudo a2enmod rewrite
sudo systemctl restart apache2
Important detail about the document root:
- With the Composer method, the vHost points permanently to the
public/subfolder of your project. - With the web installer, you first point to the directory where the installer file is located so you can reach it in the browser.
Example vHost for the Composer method (/etc/apache2/sites-available/shopware.conf):
<VirtualHost *:80>
    ServerName your-domain.com
    DocumentRoot /var/www/shopware-shop/public
    <Directory /var/www/shopware-shop/public>
        AllowOverride All
        Require all granted
    </Directory>
</VirtualHost>
Enable with sudo a2ensite shopware && sudo systemctl reload apache2.
Set file and folder permissions correctly (chmod/chown)
One of the most common sources of error. Rule of thumb: folders 755, files 644, never 777. The owner is the web-server user (on Ubuntu/Debian www-data). Project path: /var/www/shopware-shop. After installation, set:
# set owner to the web-server user
sudo chown -R www-data:www-data /var/www/shopware-shop

# base permissions: folders 755, files 644 (never 777!)
sudo find /var/www/shopware-shop -type d -exec chmod 755 {} \;
sudo find /var/www/shopware-shop -type f -exec chmod 644 {} \;

# write permissions only for the directories Shopware writes to
sudo chmod -R 775 \
  /var/www/shopware-shop/var \
  /var/www/shopware-shop/public \
  /var/www/shopware-shop/files \
  /var/www/shopware-shop/custom/plugins \
  /var/www/shopware-shop/config/jwt
The web server mainly needs write permissions for var/ (cache, logs), public/ (media, generated assets), files/, custom/plugins/ (plugin installation via the interface) and config/jwt/ (login keys).
Tip against permission chaos: run console commands (bin/console …) as the web-server user, e.g. sudo -u www-data php bin/console cache:clear. Otherwise the cache files belong to your login user and the web server cannot read them — the typical cause of „Permission denied" errors.
Prefer an admin panel? Anyone who doesn't want to manage vHosts, SSL and databases by hand uses a free server panel like Froxlor (docs.froxlor.org). We show how to set up Froxlor in a separate series article (coming soon). Nginx instead of Apache? Works just as well — point root to public/ analogously and connect PHP via PHP-FPM.
Which installation method suits you?
We describe all three practical methods below in their own chapters:
| Method | For whom | Effort | Updates |
|---|---|---|---|
| Composer (production template) | productive shops, recommended | SSH/console | clean & reproducible |
| Web installer | beginners, shared hosting | browser wizard | manual, less flexible |
| Docker | local testing/development | Docker knowledge | for dev only |
Before you start · Duration approx. 45–60 min · Difficulty: medium · You need: a Linux server with root/SSH, a domain pointing to the server, the fully installed stack (above) and a created database.
Method 1: installation via Composer (recommended for productive shops)
The standard recommended by Shopware for live shops: clean, reproducible, easy to update.
Step 1 — connect to the server
ssh user@server-ip(Details on server and SSH setup in the series article „Server setup".)
Step 2 — check requirements
php -v && composer -V && node -v
php -m   # are all extensions present?
Step 3 — create the project (in the web directory matching the vHost):
cd /var/www
composer create-project shopware/production shopware-shop
cd shopware-shop
Tip: for reproducible installations, pin the version, e.g. composer create-project shopware/production:6.6.10.0 shopware-shop.
Step 4 — configure the environment — create .env and enter the database and shop address with an editor (e.g. nano .env):
cp .env.example .env
nano .env
# important values:
#   DATABASE_URL="mysql://shopware:STRONG_PASSWORD@127.0.0.1:3306/shopware"
#   APP_URL="https://your-domain.com"
#   APP_ENV=prod        # for live operation (not "dev")
#   APP_DEBUG=0         # debug off in live operation
Step 5 — install Shopware
./bin/console system:install --create-database --basic-setupThis creates the database structure and sets up a first administrator (default: user admin, password shopware — change immediately after the first login). Then generate the security keys, if not already present:
./bin/console system:generate-jwt-secret
./bin/console system:generate-app-secret
Step 6 — build assets (storefront + administration). Current command:
composer run build:jsOlder guides use the equivalent shell script ./bin/build-js.sh (or specifically ./bin/build-storefront.sh / ./bin/build-administration.sh). Important: Node.js 20 must be installed for this.
Step 7 — set file permissions as described in the „File and folder permissions" section.
Step 8 — point the web server to public/ (vHost above) and open https://your-domain.com/admin in the browser.
Continue below at „Link your Shopware account" and „First login & First Run Wizard".
Method 2: installation via web installer (the quick start)
Without a console, directly in the browser — ideal for shared hosting or if you like it simple.
Where do I get everything? The start page is www.shopware.com. You download the installer on the official download page: shopware.com/de/download — you get the file shopware-installer.phar.php. (You need a free Shopware account for the download and the store, see below.)
- Download
shopware-installer.phar.php. - Upload the file via FTP/file manager into the web root (the directory your domain serves).
- Open
https://your-domain.com/shopware-installer.phar.phpin the browser. - Follow the wizard:
- choose language
- check system requirements (the installer shows green/red whether the PHP version and extensions fit)
- confirm the terms
- configure the database (server, user, password; new or empty existing database)
- start the installation and wait (5–15 minutes depending on the server)
- basic configuration: shop name, shop email, default language, default currency, default country and the administrator account
- After completion you are automatically logged into the admin area.
- Security must: delete the installer file afterwards.
The web installer is convenient, but less flexible for updates than Composer. Those who want clean long-term updates are better off with Method 1.
Method 3: Docker (for testing and development)
For trying it out on your own machine, the official Shopware dev image brings PHP, Composer, Node.js and a web server:
docker run --rm -it \
  -v $PWD:/var/www/html \
  ghcr.io/shopware/docker-dev:php8.3-node24-caddy \
  new-shopware-setup 6.6.10.0

cd new-shopware-setup
docker compose up -d
# Storefront: http://localhost:8000
# Admin:      http://localhost:8000/admin
Important: this dev image is not optimized for live operation. For a real shop use Method 1.
Create a Shopware account & link the shop
No matter which method you used — for updates and the plugin store you need a free Shopware account and must register your shop there:
- Create/log in to an account at account.shopware.com.
- Go to Merchant → Shops → „Register Community Edition shop".
- Enter the shop domain (your shop URL), the Shopware version and the type of use (productive/test environment).
- Store the link in your shop: in the First Run Wizard or later under Settings → System → Shopware account, log in with your account data.
Only then do you have access to the store, extensions and updates. Details: official docs on the Shopware account.
First login & First Run Wizard
When you first open https://your-domain.com/admin you log in (with the Composer method using admin / shopware — please change immediately). The First Run Wizard then guides you through the basic setup. It asks for:
- Region & basic settings: default language and default currency. Note: you set the default language and currency here — they cannot be changed later, so choose deliberately.
- Default values: default country and other available currencies (each with a conversion factor).
- Shop email address: the global sender address for all emails.
- Mailer/SMTP: set up the way emails are sent.
- Shopware account: connect the account you created above (for store & updates).
- Extension recommendations & import: optional recommendations you can skip.
After that your shop is basically up. You then set up the first sales channel, a theme and payment/shipping methods in the admin.
Common pitfall — sales-channel domain: check under Sales Channels → Storefront → Domains that exactly your shop domain is stored there. If it doesn't match the URL you opened, the storefront shows an error or nothing at all — a typical „why isn't the shop working?" moment right after the installation.
Set up background processes (mandatory for live shops)
So that tasks like sending emails, cache refreshing and scheduled jobs run reliably, Shopware should process the message queue and scheduled tasks in the background — not via the slow „admin worker" in the browser. For a productive shop:
- Disable the admin worker (in
config/packages/shopware.yaml,admin_worker: enable_admin_worker: false) and clear the cache:
sudo -u www-data php bin/console cache:clear- Start the processing via cron (or more robustly via a systemd service). Minimal as cron jobs:
   * * * * * cd /var/www/shopware-shop && php bin/console scheduled-task:run --time-limit=60 >/dev/null 2>&1
   * * * * * cd /var/www/shopware-shop && php bin/console messenger:consume --time-limit=60 --memory-limit=512M >/dev/null 2>&1
For continuous operation, Shopware recommends systemd services instead of cron — we'll add a step-by-step setup in a later series article. Background in the official docs on the message queue.
Domain & SSL: don't forget HTTPS
A live shop absolutely belongs behind HTTPS. Easiest with a free Let's Encrypt certificate via Certbot (certbot.eff.org) — or by click if you use a panel like Froxlor. Then switch the APP_URL in the .env to https:// and redirect HTTP to HTTPS.
Common errors and their fixes
| Error message | Cause | Fix |
|---|---|---|
| „Allowed memory size exhausted" | PHP memory_limit too low | set to 512M (theme build 1024M) in php.ini |
| „Class not found" / extension missing | PHP extension missing | check php -m, install via apt install php-<ext> |
| „SQLSTATE … connection refused" | DB not running / wrong credentials | check DATABASE_URL in .env, test with mysql -u user -p |
„Permission denied" on var/cache | web server cannot write | chmod -R 775 var/cache var/log, owner www-data |
| White page / admin won't load | stale/broken cache | bin/console cache:clear, delete var/cache if needed |
| Node version mismatch / build fails | wrong Node.js version | nvm install 20 && nvm use 20, then composer run build:js |
The „90-percent trick" for strange behaviour: clear the cache first with bin/console cache:clear. If that doesn't help, delete the var/cache folder manually and try again.
After installation: backups, updates, performance
Backups — your life insurance
Without a backup, a self-hosted shop is a risk. Three practical approaches, ideally combined:
- Backup directly at the host: many vServer providers include backups/snapshots. At webtropia, the Cloud VPS plans include e.g. free backup snapshots of the entire server with rollback (webtropia.com/vserver) — the easiest start.
- Backup software on the server: with restic (restic.net), BorgBackup (borgbackup.org) or Duplicati (duplicati.com) you back up automatically and encrypted. With a panel, Plesk also offers integrated backups.
- Back up the database specifically: additionally a nightly
mysqldumpvia cron — so the shop data is available separately from the server image.
Important: test backups regularly — a backup you can't restore is none.
Updates
With the Composer method you keep Shopware cleanly up to date (composer update plus the official update steps). Always apply updates to a copy/staging first, never directly on the live shop.
Performance & maintenance
- Enable OPcache and Redis (cache/session) and warm the cache after deployments.
- For large assortments, add Elasticsearch for search (plan for more RAM).
Further reading: official Shopware performance tweaks and the hosting partner maxcluster.
Frequently asked questions (FAQ)
Can I host Shopware myself for free? Yes. The Shopware Community Edition is free (from March 2026 with a cap of €1 million GMV/year). Only the cost of your server applies.
Which server is enough for Shopware 6? For a small shop, a vServer with 2 vCPU, 4 GB RAM and SSD. With more products/traffic rather 4+ vCPU and 8–16 GB RAM, ideally NVMe SSD.
Do I need programming skills? For installing, no — but some Linux/SSH basics help with the Composer method. Those who don't want to use a console take the web installer or managed hosting.
How long does the installation take? With a prepared server, typically 45–60 minutes. The pure Shopware part (Composer + setup) takes a few minutes; most of the time goes into stack, vHost and SSL.
Apache or Nginx? Both work. This guide uses Apache (beginner-friendly); Nginx is often a bit more performant at very high traffic.
Composer or web installer? Web installer = fastest start. Composer = the method recommended for productive shops, because updates are cleaner and reproducible.
Plugins & individual extensions — this is where we come in
You extend the feature set via plugins from the Shopware Store. But sometimes there is no suitable plugin for exactly your requirement — a special interface, custom logic in the checkout, a connection to your ERP or accounting system.
This is exactly where PepperTools helps: we develop software and write individual plugins for your Shopware shop — tailored precisely to your processes. Our competencies range from backend and API development through interfaces and automation to cloud solutions and custom web applications; we are broadly positioned enough to implement even demanding special requests.
Have an idea or a concrete need? Write to us via the contact form on www.peppertools.de — we'll gladly prepare a non-binding quote.
Common pitfalls — and how to avoid them
These gotchas usually cost beginners the most time:
- Sales-channel domain is wrong. Storefront shows an error or nothing. → Store exactly the opened shop URL under Sales Channels → Storefront → Domains.
- Theme not assigned or not compiled. Shop loads but looks „bare". → Assign the theme to the sales channel (Sales Channels → Storefront → Themes) and run
bin/console theme:compile. - Stale cache. After changes, old content or errors about no-longer-existing data appear. →
bin/console cache:clear(additionallycache:clear:httpif needed). - Wrong or too-open file permissions. Both too strict and
777cause problems. → Ownerwww-data, folders 755 / files 644, targeted write permissions (see above) — never 777. - Incomplete PHP configuration. A missing extension or too-low values (
memory_limit,max_execution_time,upload_max_filesize) cause the installation to abort. → Checkphp -m, setphp.inivalues. - HTTPS switched half-heartedly (mixed content).
APP_URLstill onhttp://or sales-channel domain withouthttps→ mixed content and browser warnings. → Switch everything tohttps://and clear the cache. - Search/display incomplete after import. Indexing failed. → Run
bin/console dal:refresh:index. - Plugin incompatibility. Errors occur after installing a plugin. → Check the plugin version against the Shopware version, in doubt disable the last installed plugin.
- Process interrupted mid installation/update (FTP intervention, backup restore). Leads to an inconsistent state. → Never interrupt installations/updates, take a backup beforehand.
Go-live checklist
Before your shop goes online, quickly go through:
- [ ] Default admin password (
shopware) changed - [ ]
APP_ENV=prodandAPP_DEBUG=0set - [ ] File permissions correct (
www-data, folders 755 / files 644, write permissions forvar/,public/,files/,custom/plugins/,config/jwt/) - [ ] HTTPS/SSL active and
APP_URLonhttps:// - [ ] Sales-channel domain matches the shop URL
- [ ] Background processes running (admin worker off, cron/systemd for
messenger:consume&scheduled-task:run) - [ ] Shopware account connected
- [ ] Backups set up and restored once as a test
Conclusion & the series „Servers & Shops"
Installing Shopware 6 yourself is quite doable: choose a suitable Linux server with enough RAM and SSD, take the right installation method (Composer for productive shops), link the Shopware account, run the First Run Wizard, set up background processes, HTTPS and backups — done.
This guide is part of our series „Servers & Shops". Planned follow-up articles that build on each other:
- Server setup: order a vServer, connect via SSH, users & basic hardening, firewall.
- Set up Froxlor: free server panel for domains, vHosts, SSL and databases.
- Keep server packages up to date: updates, security patches and maintenance under control.
- Install other shop systems yourself.
Sources
- Shopware – System Requirements (developer docs)
- Shopware – Install Shopware 6 (First Steps)
- Shopware – First Run Wizard
- Shopware – Download (web installer)
- Shopware – Plans & Pricing
- Shopware – Performance Tweaks Once the visitors arrive, the invoicing behind it should be ready too — guides and tools for that are at office1.cloud.
As of June 2026. Prices and version details may change — the current information on the linked providers and the official Shopware documentation is authoritative.
Handle invoices more easily
Easy Invoice combines quotes, invoices and customer management in the cloud.
Try Easy InvoiceRead next
 Tech & Servers
Is WordPress still up to date in 2026? And do you even have to use it?
You have heard that you have to use WordPress? You do not. This guide explains without jargon what is behind the constant security warnings, what maintenance really costs and who is better off with something simpler.
 Tech & Servers
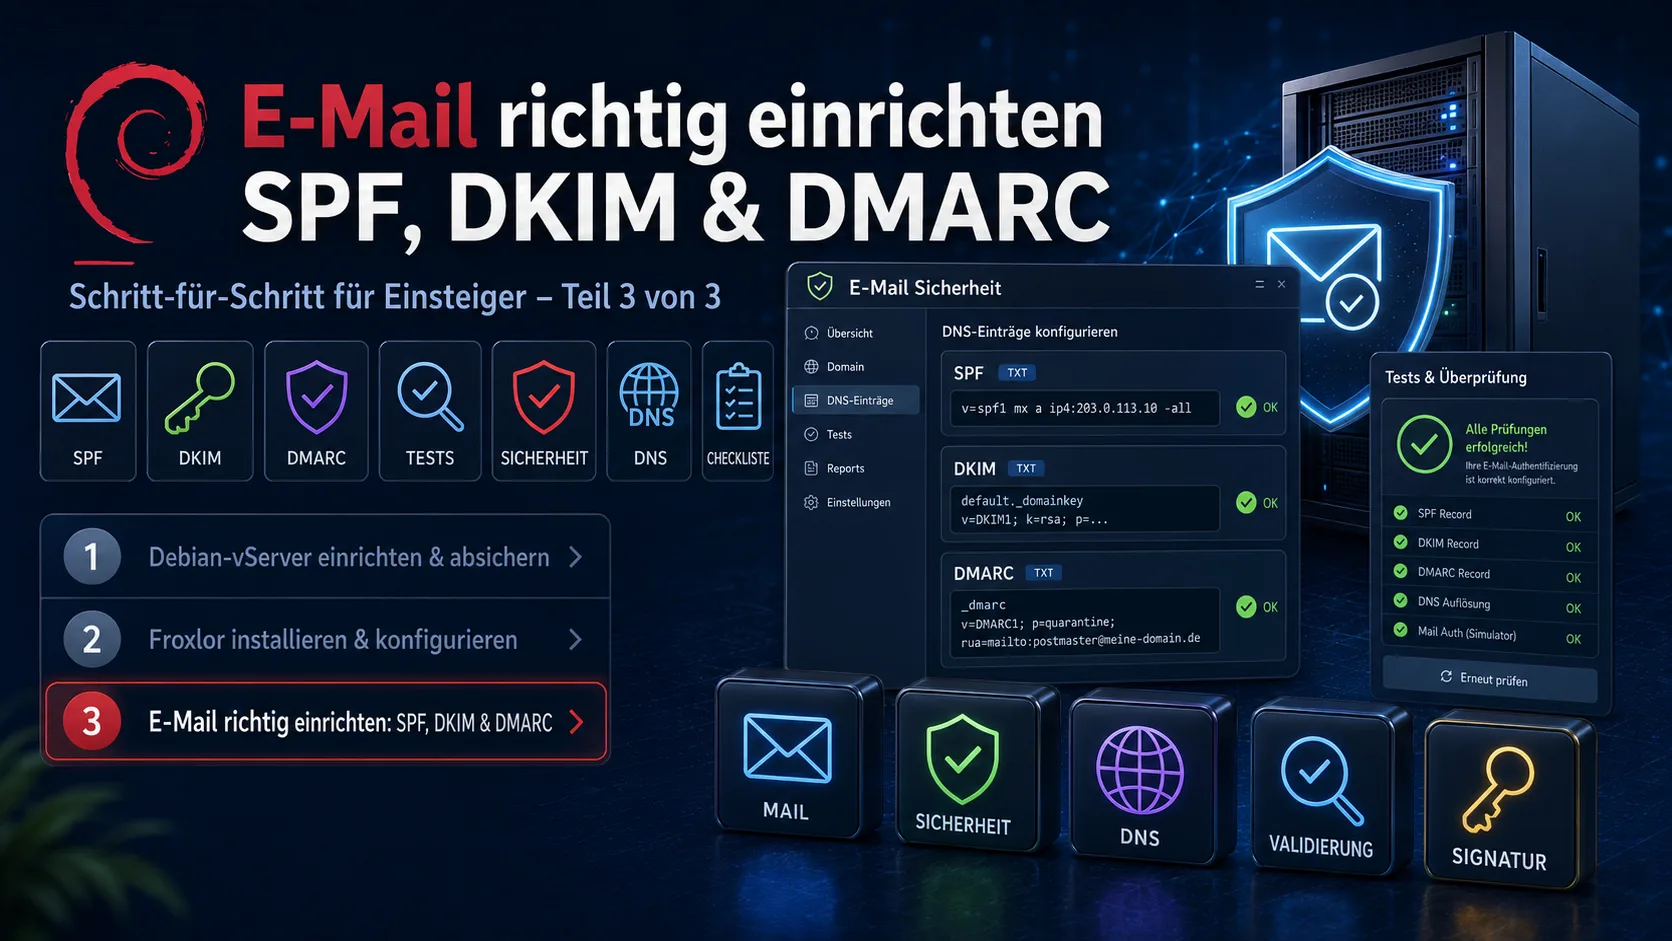
Set up email correctly: SPF, DKIM and DMARC for beginners (Part 3 of 3)
Part 3 of the series „Your own server – from zero to secure": set up SPF, DKIM and DMARC so your emails arrive instead of landing in spam. With DNS records, DKIM signing via OpenDKIM on your own server, the right order (p=none first) and free test tools – all ready to copy.
 Tech & Servers
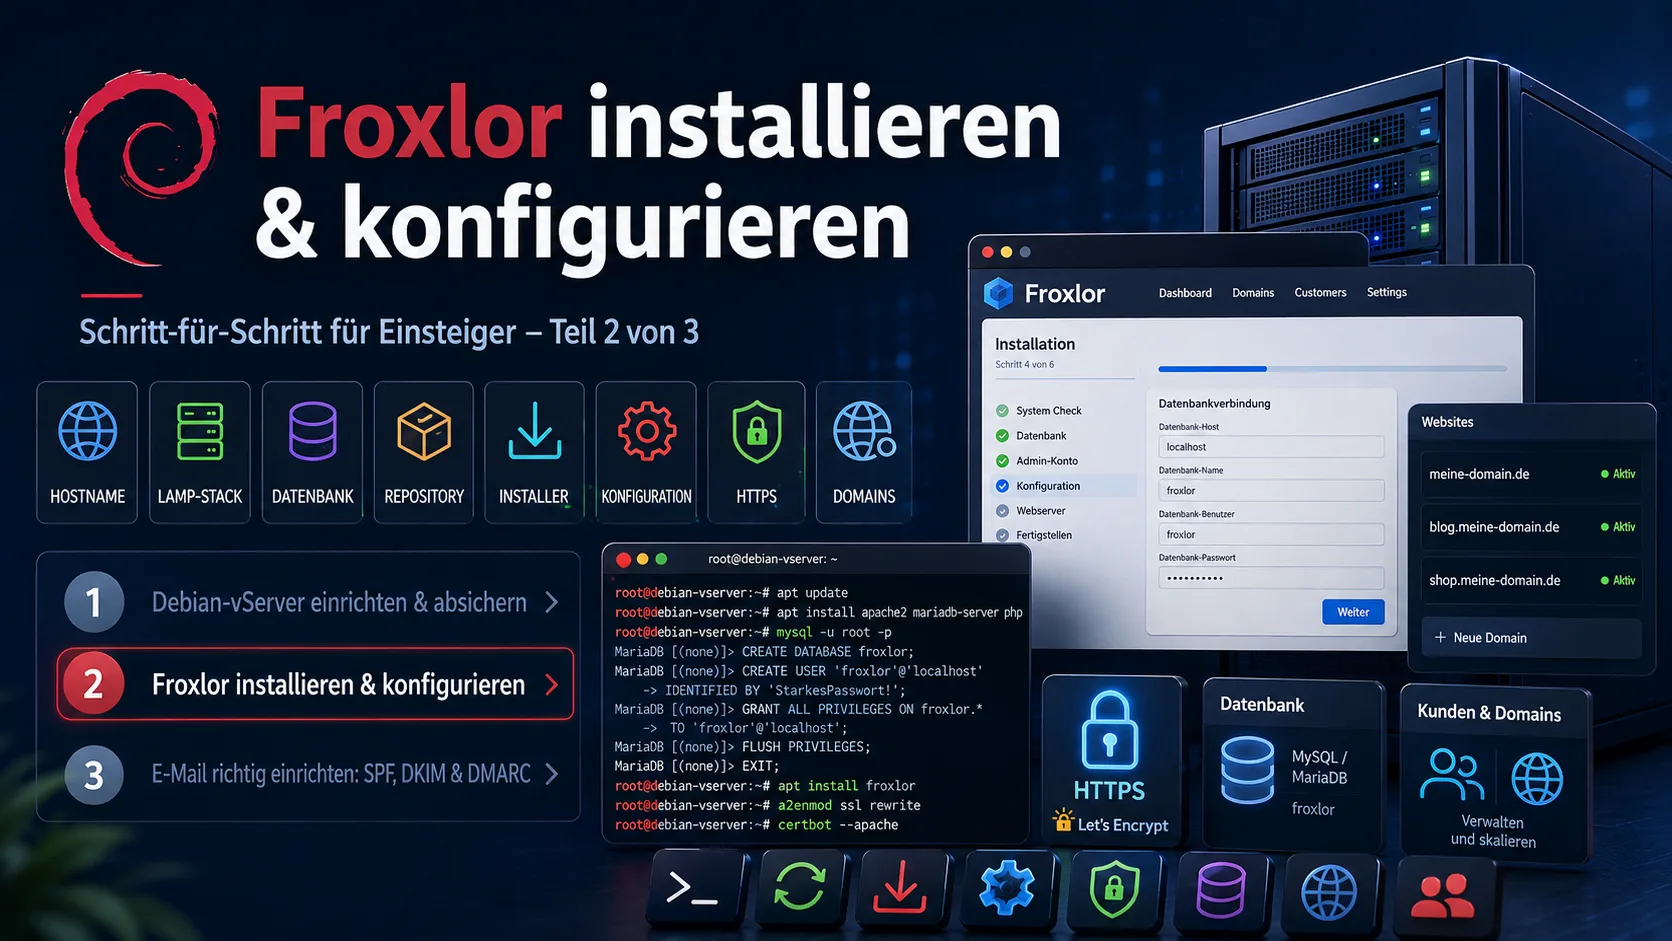
Install and configure Froxlor: a beginner's step-by-step guide (Part 2 of 3)
Part 2 of the series „Your own server – from zero to secure": install Froxlor as a free server panel on Debian 12 – from the LAMP stack via the repository install and the web installer to applying the configurations and HTTPS via Let's Encrypt. Incl. subchapters on common problems (cron, Let's Encrypt) with copy-paste commands.