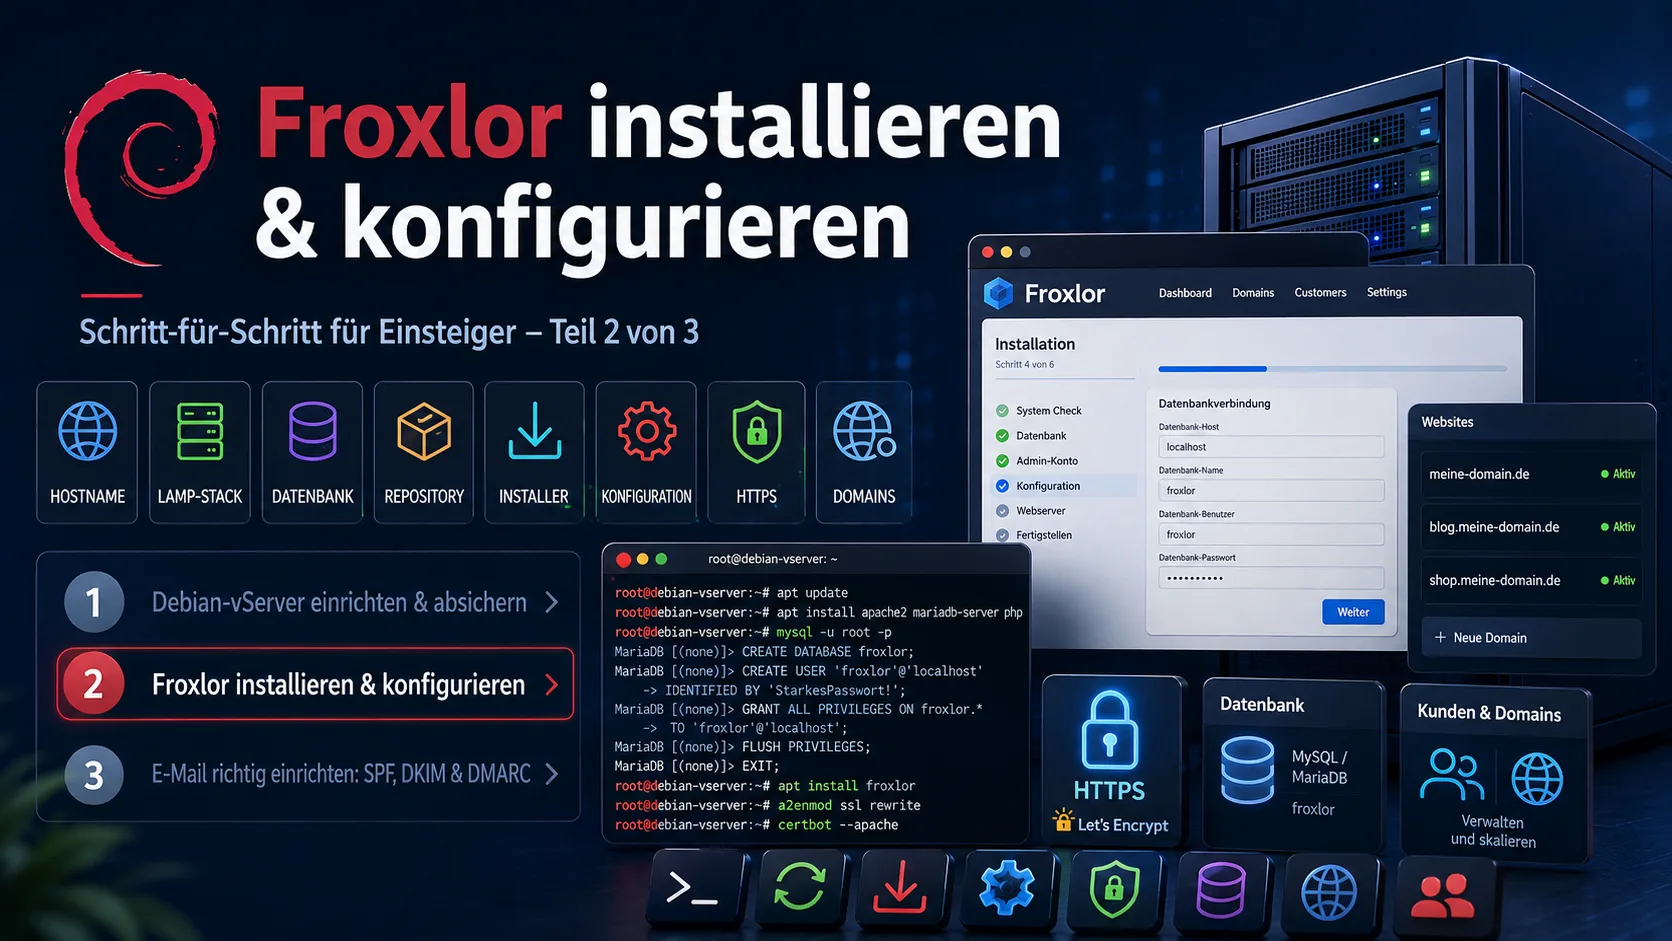
Install and configure Froxlor: a beginner's step-by-step guide (Part 2 of 3)
Series „Your own server – from zero to secure" · 3 parts:
- Set up & secure a Debian vServer
- Install & configure Froxlor ← You are here
- Set up email correctly: SPF, DKIM & DMARC
This is Part 2. It assumes a secure server as we set up in Part 1. Here we install Froxlor and apply the server configurations. Email follows in Part 3.
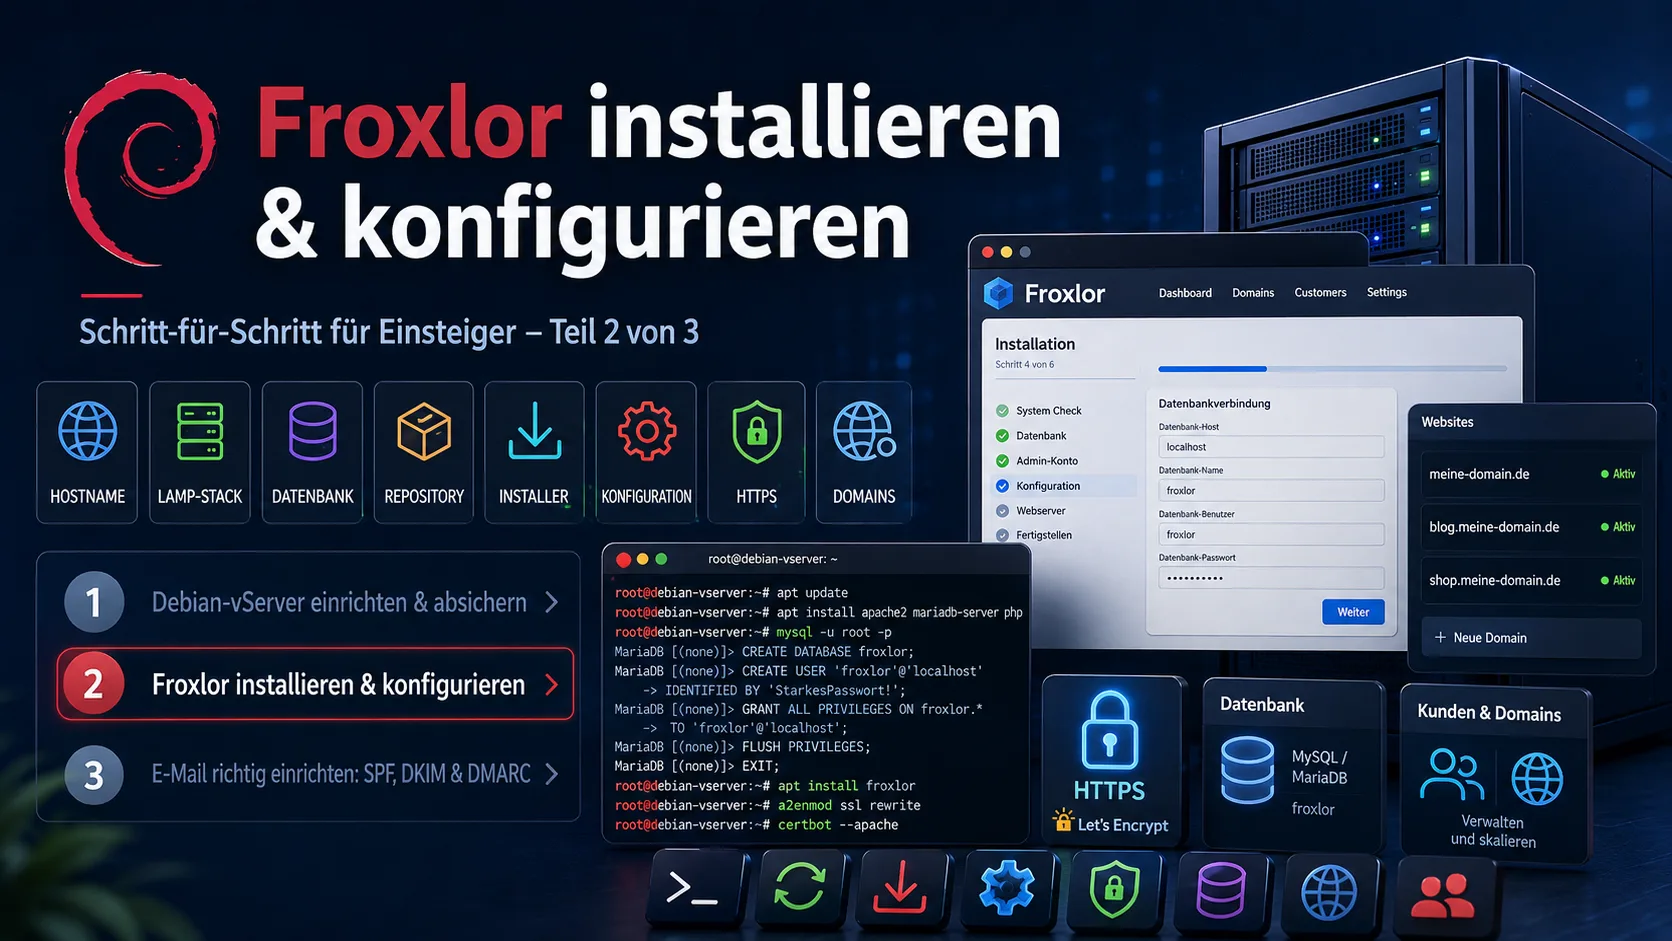
Contents
- Prerequisites
- Step 1: Prepare the server (check the hostname)
- Step 2: Install the LAMP stack (web server, database, PHP)
- Step 3: Create a database for Froxlor
- Step 4: Install Froxlor from the official repository
- Step 5: Run the Froxlor web installer
- Step 6: Apply the Froxlor configurations (the most important part)
- Step 7: Enable HTTPS with Let's Encrypt
- Step 8: Create your first domain and customer
- Common problems and their solutions
- Checklist
- What's next?
- Sources
Froxlor is a free server management panel. With it you conveniently manage domains, websites, SSL certificates, email accounts and databases through a web interface – instead of doing every setting by hand on the console. The special thing: Froxlor writes the configuration files for the web server, PHP, database and mail for you. Exactly this „applying configurations" is the core of this guide.
We stay beginner-friendly: every step ready to copy, every action explained. We use Debian 12 with Apache as the web server.
Tip: Run all commands as the user with
sudoyou created in Part 1. Replace placeholders likeserver.your-domain.comandSTRONG-PASSWORDwith your real values.
Prerequisites
- A secured Debian 12 server with a sudo user and the firewall open for ports 80/443 – exactly the result of Part 1.
- A domain pointing to your server's IP (an A record in your domain provider's DNS). For the panel we use a subdomain, e.g.
server.your-domain.com. - SSH access to the server.
Step 1: Prepare the server (check the hostname)
Froxlor needs a fully qualified hostname (FQDN). Set it and add it to the hosts file. Replace server.your-domain.com and SERVER-IP:
sudo hostnamectl set-hostname server.your-domain.com
echo "SERVER-IP server.your-domain.com server" | sudo tee -a /etc/hosts
Make sure the system is up to date:
sudo apt update && sudo apt full-upgrade -yCheck the full name – it should show server.your-domain.com:
hostname -fStep 2: Install the LAMP stack (web server, database, PHP)
„LAMP" stands for Linux, Apache, MariaDB and PHP – the base on which Froxlor and your websites run. Install everything in one command:
sudo apt install -y apache2 mariadb-server \
  php php-fpm php-cli php-mysql php-curl php-gd php-intl php-mbstring \
  php-xml php-zip php-bcmath php-soap \
  libapache2-mod-php unzip
Secure the database server (set a root password, answer all further questions with Y):
sudo mysql_secure_installationStep 3: Create a database for Froxlor
Froxlor stores its settings in its own database. The web installer in Step 5 normally creates this itself – for that you only need the credentials of the database root user you just set. But you can also prepare the database now:
sudo mysql -e "CREATE DATABASE froxlor CHARACTER SET utf8mb4 COLLATE utf8mb4_general_ci;
CREATE USER 'froxlor'@'localhost' IDENTIFIED BY 'STRONG-PASSWORD';
GRANT ALL PRIVILEGES ON froxlor.* TO 'froxlor'@'localhost';
FLUSH PRIVILEGES;"
Note down froxlor (database & user) and your STRONG-PASSWORD – you'll need the values in the web installer shortly.
Step 4: Install Froxlor from the official repository
We install Froxlor from the official package source – this way you get automatic updates. First set up helper packages and the signing key:
sudo apt install -y apt-transport-https lsb-release ca-certificates curl gnupg
sudo curl -fsSL https://deb.froxlor.org/froxlor.gpg -o /etc/apt/trusted.gpg.d/froxlor.gpg
Add the package source and install Froxlor:
echo "deb https://deb.froxlor.org/debian $(lsb_release -sc) main" | sudo tee /etc/apt/sources.list.d/froxlor.list
sudo apt update
sudo apt install -y froxlor
Note: Should the repository address change at some point, you'll find the current commands in the official Froxlor installation docs. Alternatively there is an installation via tarball if you don't want to use a repository.
Froxlor now lives in /var/www/froxlor. So Apache serves the panel, we enable the included example vHost (or create our own). For a quick start it's enough:
sudo a2enmod rewrite
sudo systemctl reload apache2
Step 5: Run the Froxlor web installer
Now continue in the browser. Open the panel (initially via the IP or the subdomain):
http://server.your-domain.com/froxlorThe setup wizard guides you through a few steps:
- System check – if something is missing, Froxlor shows it in red and names the package to install.
- Database – enter the data from Step 3 (database
froxlor, userfroxlor, your password) and the credentials of the database root user. - Administrator account – set a username and a strong password for your Froxlor login.
- Finish – Froxlor writes its configuration and redirects you to the login.
Then log in with your admin account. You now see the Froxlor dashboard.
Step 6: Apply the Froxlor configurations (the most important part)
Froxlor now knows how your websites and services should be configured – but it still has to write this configuration to the server. This happens in two places.
6.1 Select services. In the Froxlor menu under System → Settings choose which software you use: as web server Apache 2.4, plus PHP-FPM (for fast, separated PHP execution) and optionally email services (Postfix/Dovecot, more on that in Part 3). Enable at least „Apache" and „PHP-FPM" and save.
6.2 Apply the configuration commands. In the menu System → Configuration, Froxlor shows you – matching your distribution and the chosen services – the exact commands and configuration snippets you need to run once on the server (e.g. enable Apache modules, set up PHP-FPM pools). Work through this list from top to bottom and copy each command into your SSH session. The official docs describe this step in detail at Froxlor – Configuration.
6.3 Set up the Froxlor cron. So that Froxlor automatically writes the configurations in future (as soon as you create a new domain, for example) and renews SSL certificates, we set up its background service. Run the cron once manually to test (-f forces re-writing of the configs, -d shows detailed debug output):
sudo -u www-data php /var/www/froxlor/bin/froxlor-cli froxlor:cron -f -dSo it runs regularly, enable the included systemd timer (or add a cron job). With the timer:
sudo systemctl enable --now froxlor.timer 2>/dev/null || \
( echo "* * * * * www-data /usr/bin/php /var/www/froxlor/bin/froxlor-cli froxlor:cron" | sudo tee /etc/cron.d/froxlor )
From now on Froxlor applies your changes from the panel to the server on its own. The exact path and current cron commands are in the Froxlor docs on the cron job.
Step 7: Enable HTTPS with Let's Encrypt
Your panel and your websites should be reachable encrypted (via HTTPS). Froxlor comes with a Let's Encrypt integration for this. Enable it under System → Settings → SSL/Let's Encrypt: enter a contact email and switch on „Enable Let's Encrypt".
Afterwards you can tick „Let's Encrypt" for each domain in Froxlor – the certificate is created automatically and renewed by the cron from Step 6. Background on Let's Encrypt is at Let's Encrypt itself and on the standard tool at Certbot.
Step 8: Create your first domain and customer
Finally we create a website. In Froxlor it works like this:
- Create a customer: menu Customers → New. Even if you only manage yourself, you need a „customer" as the owner of the domains.
- Add a domain: menu Domains → New, enter the domain (e.g.
your-domain.com), assign it to the customer, set the PHP version and – if desired – enable „Let's Encrypt" and „redirect to HTTPS". - Wait briefly until the Froxlor cron (Step 6) has run – then the domain is live.
Afterwards you place your website's files in the customer's directory (Froxlor shows the path). With that your server is a full-fledged hosting system manageable through the interface.
Common problems and their solutions
Froxlor is powerful but occasionally acts up. Here are the most common stumbling blocks from practice – each with copy-paste commands. Run all commands as the sudo user via SSH. (The path to Froxlor with the repository install is /var/www/froxlor; on some setups /var/www/html/froxlor – adjust it if needed.)
Froxlor doesn't apply changes (cron not running)
If new domains, vHosts or settings don't arrive on the server, it's almost always the cron. Run it manually and force re-writing of all configurations (-f) with debug output (-d):
sudo -u www-data php /var/www/froxlor/bin/froxlor-cli froxlor:cron -f -dRe-generate only the web server/service configurations (task 1):
sudo -u www-data php /var/www/froxlor/bin/froxlor-cli froxlor:cron -r 1 -f -dIf the automatic run is missing entirely, let Froxlor re-write the cron file (task 99) and check the timer/cron job:
sudo -u www-data php /var/www/froxlor/bin/froxlor-cli froxlor:cron -r 99
systemctl status froxlor.timer
cat /etc/cron.d/froxlor
Older Froxlor (v0.10): there the command is
php -q /var/www/froxlor/scripts/froxlor_master_cronjob.php --force --debug. All CLI options are in the official CLI docs.
Let's Encrypt acts up: no certificate or renewal fails
First rule out the most common causes: php-curl must be installed, port 80 must be open (Let's Encrypt checks via it), the A record of the domain must point to the server, and no wildcard/no alias may be used.
sudo apt install -y php-curl
sudo ufw allow 80/tcp
Trigger the certificate run with debug output – so you see the exact error message:
sudo -u www-data php /var/www/froxlor/bin/froxlor-cli froxlor:cron -dIf paths (DocumentRoot/ACME directory) were changed, repair the acme.sh configuration:
sudo -u www-data php /var/www/froxlor/bin/froxlor-cli froxlor:validate-acme-webroot -AIf the certificate absolutely won't renew, force the renewal directly via acme.sh (replace the domain; for ECDSA certificates add --ecc):
sudo bash /root/.acme.sh/acme.sh --renew -d your-domain.com --forceOlder Froxlor (v0.10): the Let's Encrypt run is triggered separately there with
php -q /var/www/froxlor/scripts/froxlor_master_cronjob.php --letsencrypt --debug.
„500 Internal Server Error" right after creating a domain
Usually PHP-FPM is not enabled yet or the configuration isn't written. Re-generate configs and restart services:
sudo -u www-data php /var/www/froxlor/bin/froxlor-cli froxlor:cron -r 1 -f
sudo systemctl restart php8.3-fpm apache2
Locked out of the Froxlor panel (too many failed attempts)
Froxlor locks accounts after several failed attempts. Unlock the admin again:
sudo -u www-data php /var/www/froxlor/bin/froxlor-cli froxlor:user -u adminPanel or website not reachable
First check the firewall, then Apache:
sudo ufw allow 80,443/tcp
sudo systemctl status apache2
sudo tail -n 50 /var/log/apache2/error.log
SSL doesn't work: port 443 missing
So Froxlor can write HTTPS vHosts, there must be an entry with port 443 and the SSL option enabled under Resources → IPs & Ports. Create it and then run the cron with -f (see above).
Checklist
- [ ] Hostname/FQDN set,
hostname -fcorrect - [ ] LAMP stack installed, database secured
- [ ] Froxlor installed via repository, web installer completed
- [ ] Services (Apache, PHP-FPM) selected and configuration applied
- [ ] Froxlor cron running (timer/cron job active)
- [ ] HTTPS/Let's Encrypt enabled
- [ ] First customer + first domain created and reachable
What's next?
Your server can now host websites. In the last part we make sure email works too – in a way that your messages don't land in spam. For that we set up SPF, DKIM and DMARC:
👉 Part 3: Set up email correctly: SPF, DKIM & DMARC
The starting point – the secured server – is described in Part 1: Set up & secure a Debian vServer.
Need a custom plugin, an interface or a tailor-made web solution? PepperTools develops it for you – get in touch via the contact form.
Sources
- Froxlor – official website
- Froxlor documentation
- Froxlor – console scripts (CLI)
- Froxlor forum (support & troubleshooting)
- idroot: Install Froxlor on Debian 12
- ComputingForGeeks: Froxlor on Debian
- Let's Encrypt · Certbot If you run the technical groundwork yourself, you will find guides on invoicing and bookkeeping at office1.cloud.
As of June 2026. Commands, paths and repository addresses can change with new versions – the official Froxlor documentation is authoritative.
Handle invoices more easily
Easy Invoice combines quotes, invoices and customer management in the cloud.
Try Easy InvoiceRead next
 Tech & Servers
Is WordPress still up to date in 2026? And do you even have to use it?
You have heard that you have to use WordPress? You do not. This guide explains without jargon what is behind the constant security warnings, what maintenance really costs and who is better off with something simpler.
 Tech & Servers
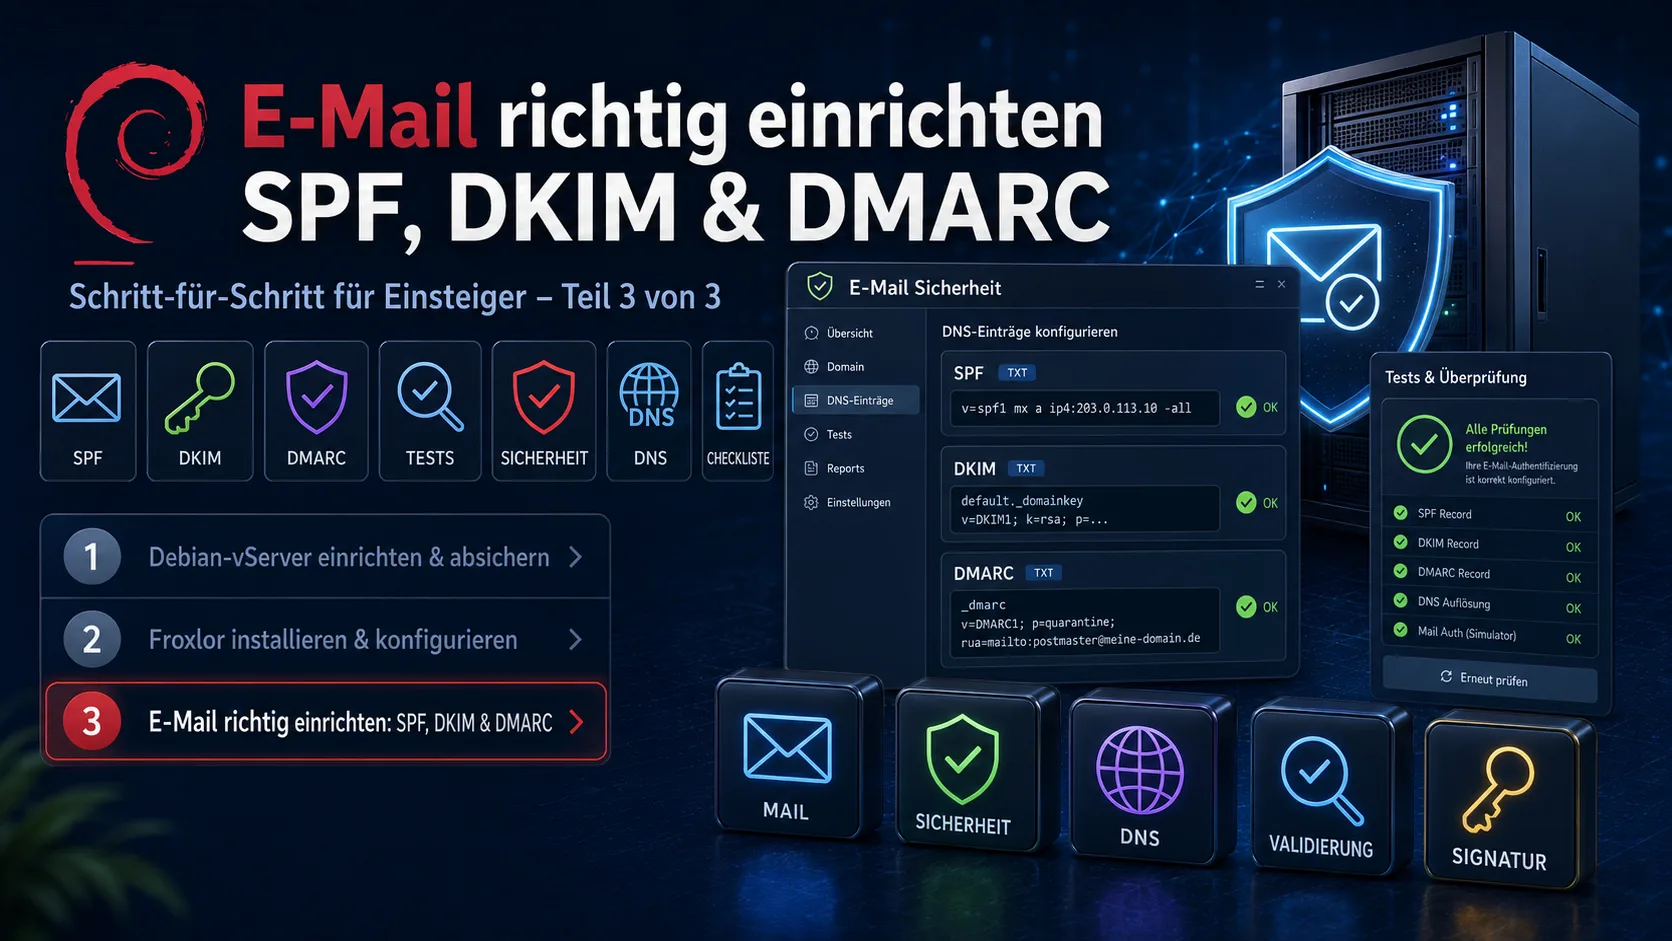
Set up email correctly: SPF, DKIM and DMARC for beginners (Part 3 of 3)
Part 3 of the series „Your own server – from zero to secure": set up SPF, DKIM and DMARC so your emails arrive instead of landing in spam. With DNS records, DKIM signing via OpenDKIM on your own server, the right order (p=none first) and free test tools – all ready to copy.
 Tech & Servers
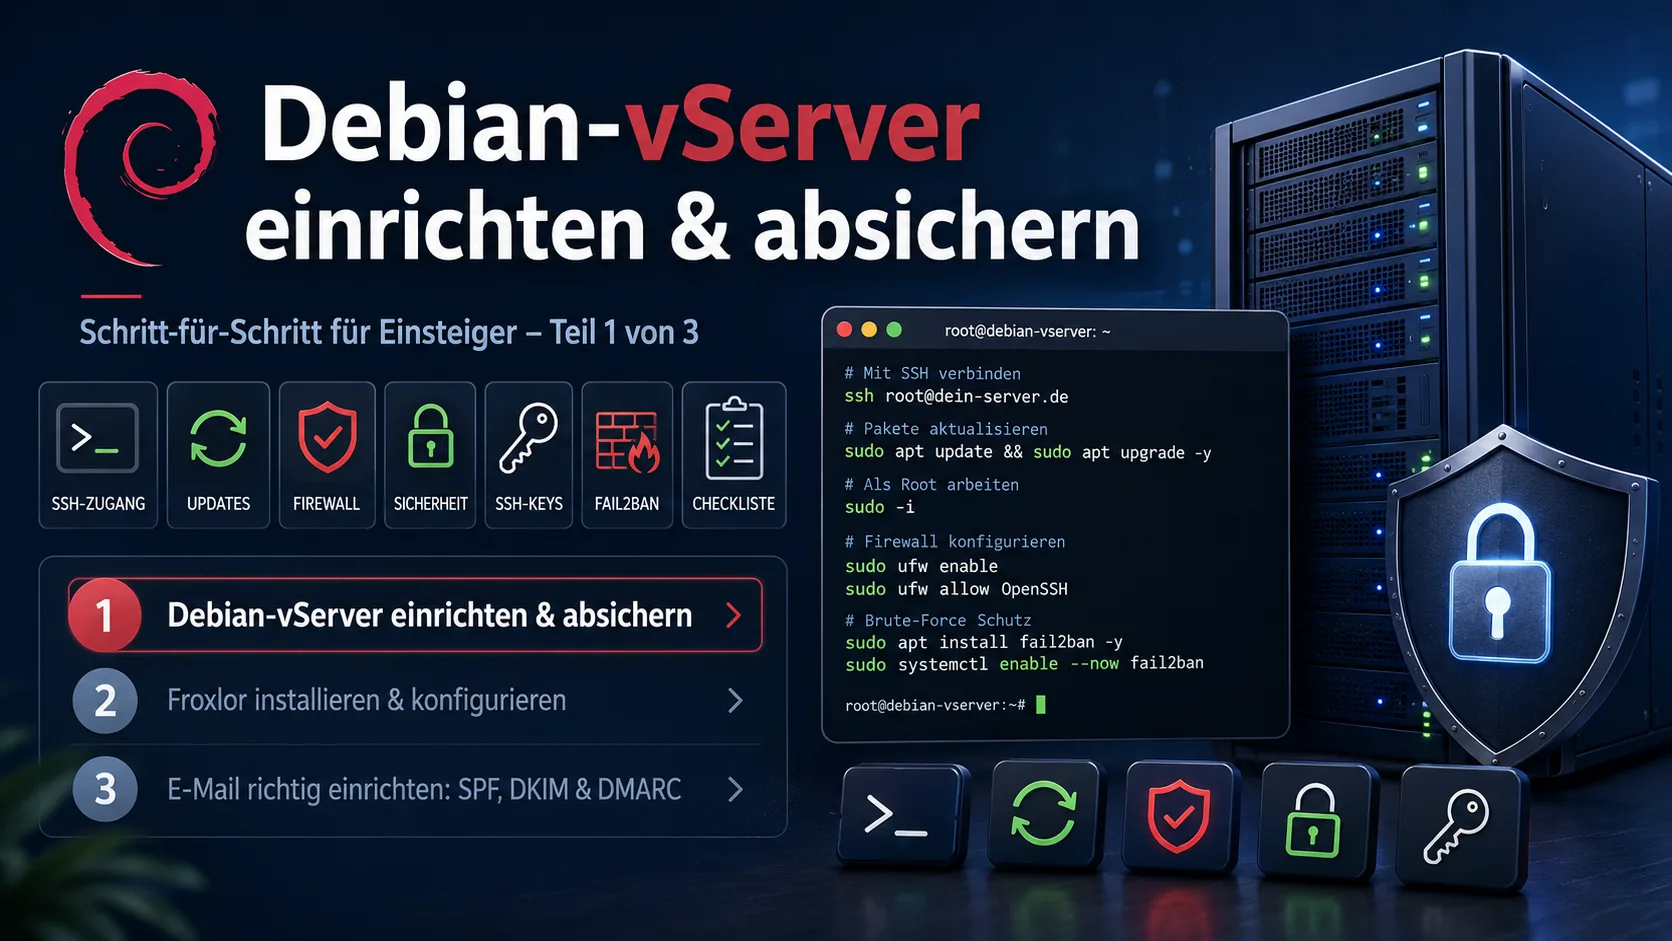
Set up and secure a Debian vServer: a beginner's step-by-step guide (Part 1 of 3)
Part 1 of the series „Your own server – from zero to secure": you've rented a vServer – now what? This beginner guide brings your Debian 12 server to a secure baseline: update the system, create a sudo user, secure SSH with a key, set up a firewall, Fail2ban and automatic security updates. Every step ready to copy.